Wednesday, 2 November 2016

Xmas Cards for a friend

Hi All

You may remember I mentioned in a post a couple of days ago that a friend had asked me to make her quite a few Christmas cards,  Well here they are I made 22 in total for her, she wanted 10 with snow scenes and 10 traditional and one each for her 2 grandchildren.


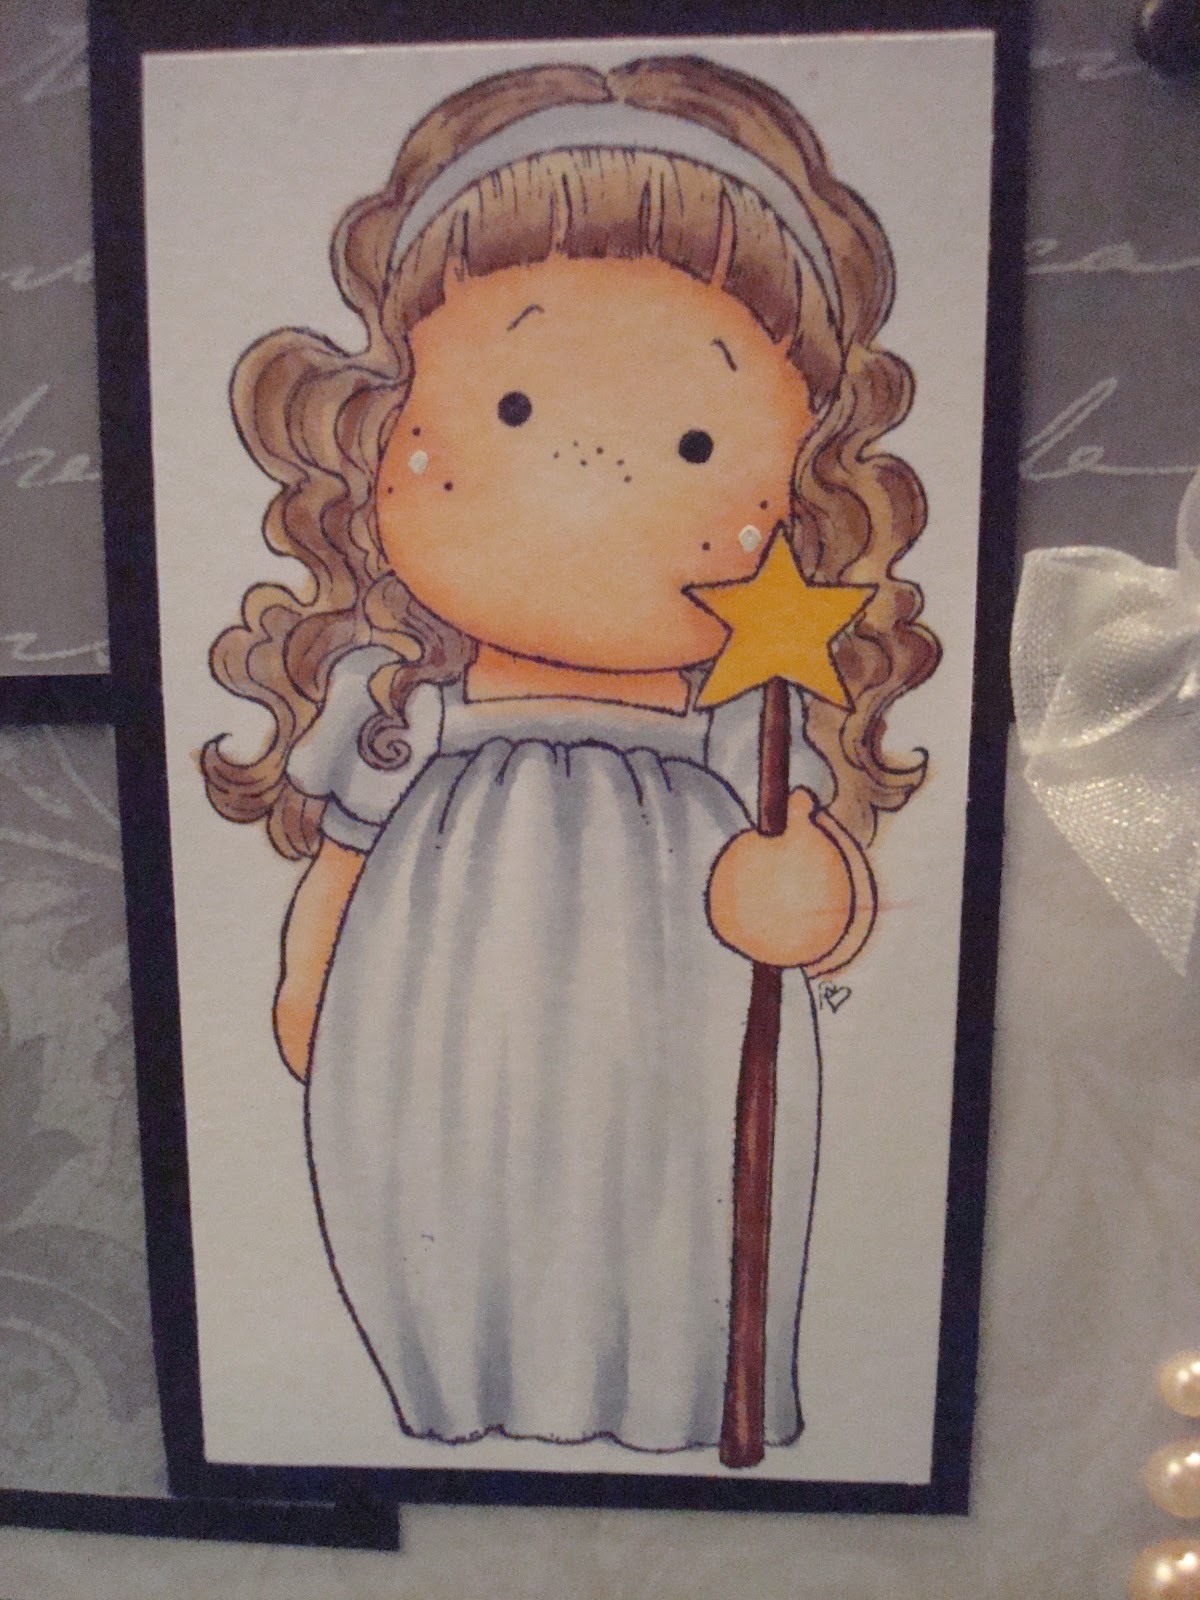
These are the two cards for her grandchildren the first is a Polkadoodles image stamped and coloured with Copics and accented with a little glitter, this was matted on navy pearlescent card and layered on coordinating Christmas Paper. The second is a stamp from Lily Of the Valley which was also coloured with Copis and mat and layered in the same way but in plum tones, the sentiments for both cards were printed from my computer. 


There were 10 snow scene cards altogether, all had the same image stamped in Blue Generation Inx by Stamps by Me Ltd and then glitter added with a quickie glue pen, the mat and layered on two different coordinating Christmas Papers matted onto navy pearlescent card.


Again there were 10 tradition style cards too, this time the image was stamped in Plum Archival Ink and matted and layered on plum cardstock and coordinating Christmas papers.


Hope you like them all.

Thanks for popping in.

Lots of Love

Cheers

Hev xxx


Tuesday, 1 November 2016

More Stamps by Me Ltd Samples

Hi All

I'm back again with the second set of stamps that are to be launched on Create and Craft on 1 November 2016 at 2.00pm by Toni Darroch from Stamps by Me Ltd.  This set is called Foliage and I think they are so versatile, they will be great to use with any of your existing floral stamps or dies.

This is the first card I did using this set.


I stamped the sentiment in the centre and various leaf outline stamps around the edge of a piece of craft card using Ranger Embossing Ink and embossed with White Seafoam embossing powder. I then coloured the leaves in using watered down Adirondack Ink in: Stream, Wild Plum, and Egg Plant.  The ink bled under the embossing powder a little bit but I think it adds to the look.

The lines were created using double sided tape and glitters in coordinating colours.

This is the second card I made with the Foliage stamp set.  I spent a bit more time on this one and had really good fun playing.


I started by stamping the solid leaf stamps in Adirondack Lettuce ink using first and second generation ink to create a border around a white piece of card stock I then stamped over this with one of the outline stamps using Adirondack ink pad in Stream.  The sentiment was stamped using Ranger Embossing Ink and embossed with Black Sparkle embossing powder.

The next stage was the best fun.  I got out my Ranger Alcohol Inks that I haven't used for ages.  I took a piece of 6" x 4" glossy photo paper and started to cover it with various colours of the alcohol ink.  I used three or four drops of each colour on a felt pad and added blending solution to make the colours bleed.  The colours I used were:  Sail Boat Blue, Oregano, Latte, Sunshine Yellow.  The outline leaves were stamped over the background using Archival Black Ink.  I then cut these out and added them to the card on 3D foam pads.  I matted using white and black card and added some dew drops to finish.

Hope you like the finished cards.

Thanks for popping in

Lots of Love

Cheers

Hev xxx


Monday, 31 October 2016

First Samples for Stamps by Me Ltd

Hi All

Well I have had an extremely busy two weeks.  I was asked to make quite a lot of Christmas cards for a friend and also started work on my first design team cards for Toni Darrach of Stamps by Me Ltd as well as family birthdays in between.  Hence I've not had time to blog them yet. 

I'm going to start with the Stamps by Me Ltd  design team cards and will try and catch up with the others in the next couple of days.

The first stamp set I want to showcase is the Perfect set which is available from Stamps by Me Ltd or from Create and Craft.  Toni is launching these stamps on Create and Craft on 1 November at 2.00pm, make sure you tune in. 

I loved using these stamps, they are extremely high quality and give a perfect (excuse the pun) impression every time.

This is the first card I made using this set, and I have to say these colours are about as far away from my comfort zone as you can get.  Having said that I thoroughly enjoyed making it.  


I used water colour card and stamped the large flowers going off the edge of the card using Adirondack Terra Cotta ink pad, I spritzed the inked up image with water before stamping.  I the repeated the process with the smaller flower using Adirondack Red Pepper ink pad and the centre of the flowers were stamped using Adirondack Cranberry ink pad.  I stamped the sentiment in Adirondack Espresso.  I then stamped some of each colour directly onto my acrylic block and spritzed liberally with water and flicked the watery ink onto the card using a small paintbrush.  Finally I spritzed the whole thing with some gold Shake 'n' Spray from Crafty Notions, and finished off with some coordinating mat and layering and some organza ribbon.

This is the second card I made using the this stamp set, I wanted to do something very similar to show how using different colourways and slightly changing the composition can give a completely different look.  


Again I used water colour card for this one, but this time I stamped the flowers in the following Adirondack colours: Willow, Juniper and Stream.  I used a Quickie glue pen in the centre of the flowers to add a little touch of glitter. (I've realised whilst writing this post that two of the gems have slippled - note to self, use glue next time!!!)  I didn't flick any splats onto this on but mat and layered onto a patterened card stock which determined the ink colours I chose the added an additional layer for contrast. The sentiment was molded to look the a flag blowing in the breeze and a coordinating bow just because I liked it lol.

I hope hope you all like them and don't forget to watch the show at 2.00pm on 1 November on Create and Craft.

Thanks for popping in

Lots of love

Cheers

Hev


Wednesday, 19 October 2016

I'm Back, And I Have Exciting News

Hi

I've not blogged for over 3 years, mainly as I've been using Facebook to showcase the projects I have made. But also there have been lots of changes at home including this wee man.  I am now Guardian to my Grandson Blake.


The exciting news is that I have just been asked to join the Design Team by the very lovely Toni Darroch at Stamps by Me Limited.  This is the first design team I have been on so thought it was about time to update my blog and make it operational again.  I hope you will join me on my new crafting journey.


I couldn't be happier and I can't tell you how giddy I am.  I really can't wait to get started. So from now on all my makes will be showcased here as well as on my Facebook page.  

If you'd like to nip and have a look at what I have done recently here is the link:


I must admit I've forgotten how to do just about everything to do with my blog as it has been so long, but hopefully will be back up and fully functional really soon.


Thanks for popping by.

Lots of Love

Cheers

Hev xxx


Saturday, 4 May 2013

Clarity Stamp Challenge Blog


Well it's be over been a year since I last blogged, how bad is that.    

It's a bit strange typing this now as the layout has completely changed since I last did this. So bear with me until I get the hang of it again, who knows where this might end up.

I've realised that I'm never going to be a really regular blogger, those of you who manage to post everyday deserve a medal.  I just don't have enough time to commit to it.

Anyway, I've decided to resurrect my blog as someone suggested I enter one of my cards into the Clarity Stamp Challenge Blog, (thank you Amy Calderbank) so I thought I'd give it a go this month and hopefully in future months too.  

Over the past year I've been posting my cards on Facebook but am going to try to use Facebook and blog again and see how we get on.

So here is the card I'm going to enter into the Clarity Stamp Challenge Blog


I made this card for a colleague at work who is leaving for another job after 34 years, a huge change in her life, so I thought this stamp from the Clarity New Design Club was perfect.  I actually made the butterfly a while ago and never got round to using it, but I felt it made the perfect accent for this card as butterflies go through a change all of their own. The butterfly which was part of the kit from In the Classroom Lesson 9 was stamped onto a background made using Clarity Card with Adirondack inks, clingfilm and water as shown In the Classroom Lesson 10 (The Birdcage Kit), then coloured with Promarkers.  I cut off the antennae as they were too fiddly to cut out and mounted it using foam pads.  I then drew the antennae back in using a fine Micron pen.

The sentiment was stamped onto a Spellbinder shape using a mixture of Eggplant and Wild Plum Adirondack inks, and the edges of the shape were edged using the same colours mixed on a makeup sponge.

The background was made with a mask embossed using the Grand Calibur and coloured with glimmer chalks. I inked round the edges with a make up sponge in the same colours as the sentiment and then mat and layered it onto matt silver card and then dark purple card.

I made the bow using some wire edged ribbon I've had in my box for years then finally added a few gems, just because.

Hope you like it!!

Bye for now

Luv Hev

xxx


Thursday, 9 February 2012

Hello Again

Hi, I'm back after a very long break, no excuses but lots of good reasons like, having a new kitchen, new bath and shower, redecorating the stairs, living room and conservatory. The latter of which overlapped with having an operation on my right hand for Carpel Tunnel, then it was Christmas and New Year and then back to work (yuk). 

Finally though I've managed to get back into making some cards.  I got a full set of Copic Ciao's for Christmas (OMG - I'm so happy) so have started having a little play and practice to try and improve my colouring techniques.

I'm going to put on a few cards that I've made over the last few weeks but there will be no details about them as I was only playing and practicing using both my Copics and Promarkers.  I didn't take of note of the colours or papers I was using - soz.

Anyway here goes I hope you like them.


You'll notice that one is not a card but a canvas, this was an experiment just to see how it would work, and as it wasn't a total disaster my son used it as birthday gift for his teacher.


Hopefully you'll see more regular posts again from now on.

Lots of Luv

Hev xx

Monday, 8 August 2011

Thank You Card

Hi this is the card I made as a thank you for my son's teacher, sorry it's a bit late posting it.  I've had camera issues hence the reason there is only one photo and it is not brilliant quality.


Miss Fenlon had taught Alistair for two years and she was fab, lovely, fair but firm, basically any good words you can think of for a teacher.  I know both me and Alistair will miss her.  At least Ally will still see her around school.


I also made a wall hanging for her classroom and this is a photo of her with Alistair after he gave it to her.


Thanks for looking!

Take Care

Luv 'n' Stuff

Hev xxx