Saturday, 31 December 2016

December Catch Up

Hi All

Well what a month December has been.  I didn't get the chance to post anything on my blog at all. Partly due to how busy I was, and partly I think due to my dodgy liver causing me unnecessary amounts of fatigue.  I'm going to post photos of some of my makes, I can't show them all as I didn't get the chance to photograph everything or even to make all the things I had planned, lol.  Hope you like the ones I did manage to do and apologies for the poor quality of the photos. 


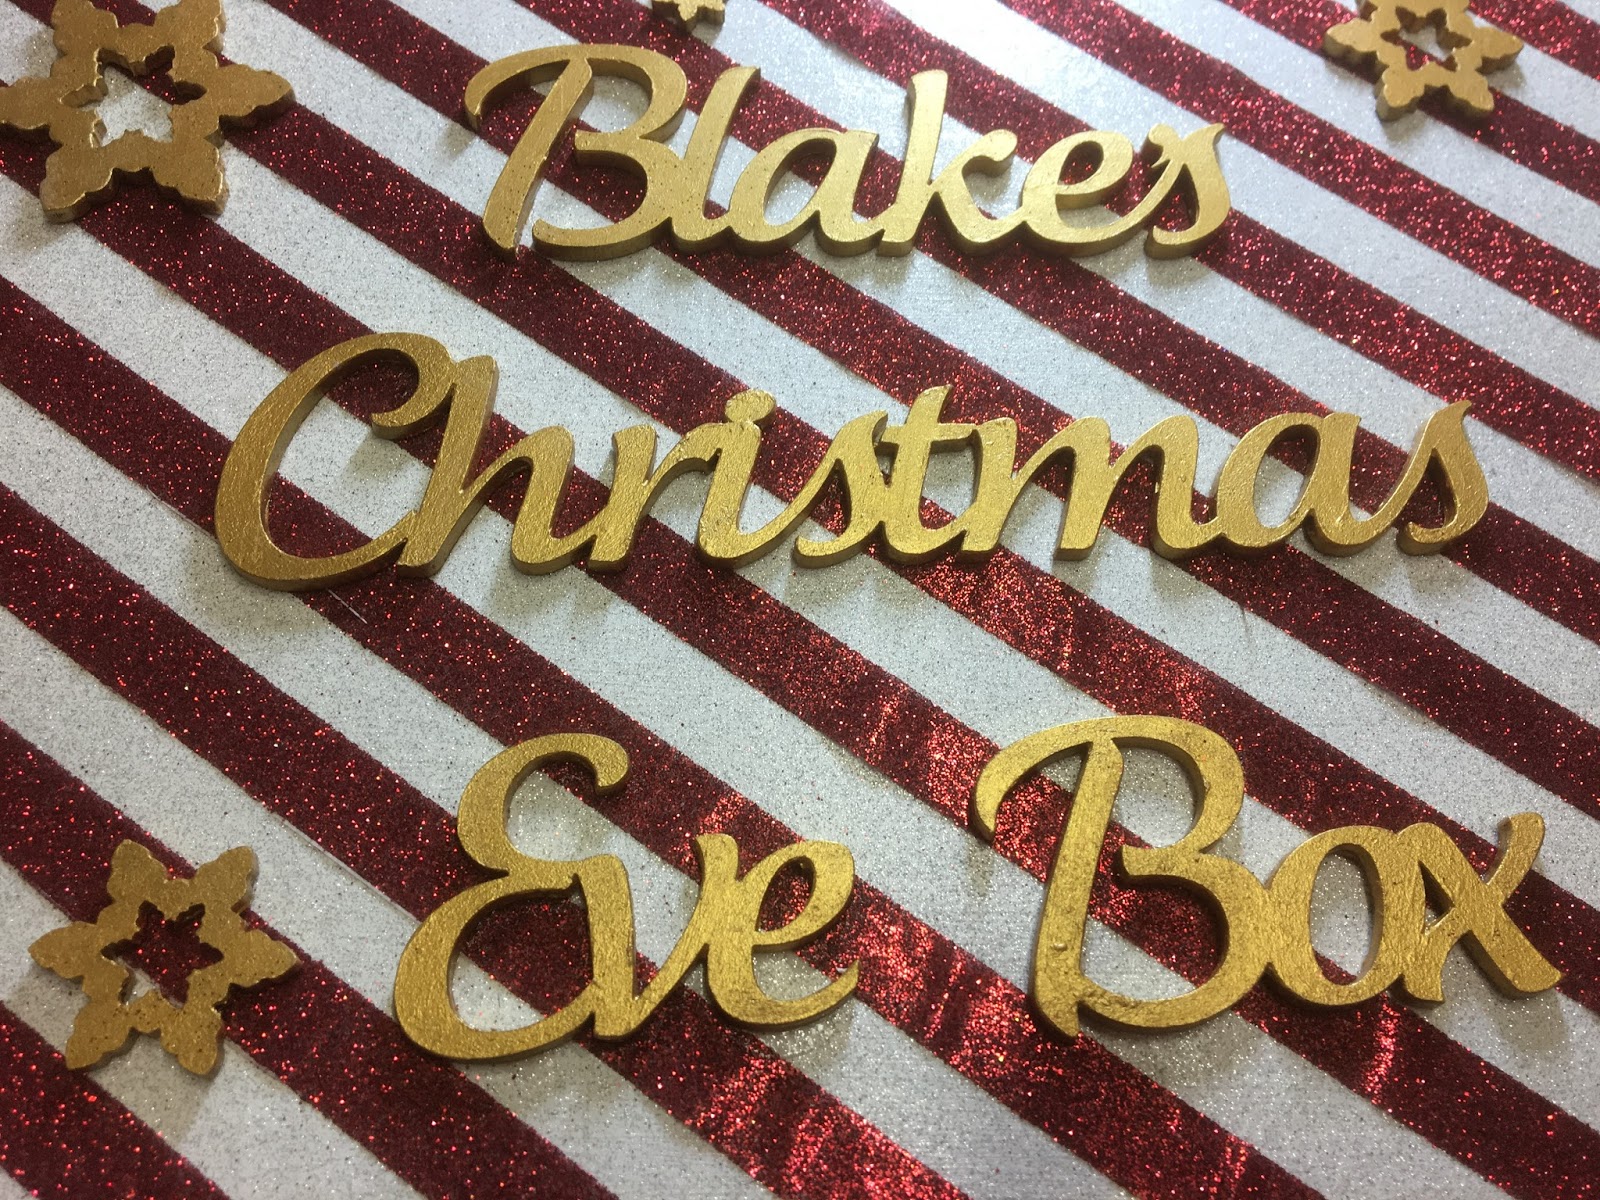
Well, there you go, that is a selection of just a small portion of the Christmas cards I made this year, there was an awful lot more that didn't get photographed and I really regret a lot of them as I liked what I'd created, but never mind I can't change that now. I also didn't take any photos of Blake's Christmas Eve box once I'd filled it with goodies but he loved opening it and getting all his surprises.

I hope you all had a fantastic Christmas.

Thanks for popping in.

Lots of Love

Cheers

Hev xxx


Monday, 5 December 2016

Stamps By Me Design Team Get Together

Hi All

Yesterday, myself and the majority of the new Design Team for Stamps By Me Ltd met up for the first time to start getting to know each other better.

We had a fantastic afternoon and all got on famously.  

Thank you to Toni Darroch and Tim for your everything you do for us, you are both fantastic.


We are from left to right, Me (Heather Learmonth), Stella Hughes, Elaine Wheeler, Linda Simpson, Toni Darroch (at the back), Marilyn Leat, Anjie McChesney
Not forgetting the girls that couldn't make it this time;
Elaine Mellor, Karen Whittaker, Gail Lett and Julie Mizler

You can find us all on facebook or via the following links:


Thanks for popping in.

Lots of Love

Cheers

Hev xxx


Sunday, 27 November 2016

Hooray

Hi all

Some friends recently renewed their wedding vows whilst on a cruise this is the card I made for them using the Hooray stamp set from Stamps By Me Ltd.


I used Fired Brick Distress Ink spritzed with water to stamp the solid portion of the stamp.
The outline was stamped in Ranger Embossing Ink and heat embossed with silver embossing powder.
I then mat and layered onto a piece of pearlescent red card stock and another layer of white card.
The sentiments were stamped in Ranger Embossing Ink at the top and bottom of the base mat and heat embossed with silver embossing powder.
It turned out to be a really elegant card.

Thanks for popping in

Lots of Love

Cheers

Hev xxx


Saturday, 19 November 2016

New Arrival Olivia Maeve

Hi All

One of my neighbours has just had a beautiful baby girl.  I made a card to commemorate her birth and also a quick card for big sister Tilly.  I hope you like them.


I matted some patterned papers from my stash onto pale pink pearlescent card stock.

The bottom layer was made to fit a 6 x 6 card and the the two smaller layers were added in a haphazard style onto the card.  

I coloured onto an MDF baby girl that I bought from CleverCut using Copics and attached this to a piece of the pearlescent card stock and attached to the card front.

I stamped A Special Delivery Calendar which I bought a few years ago from Pink Gem Designs, as it was so long ago I'm not sure if it is still available. I cut this out using a circle punch and cut a slightly larger mat again using a circle punch from the pearlescent card stock and attached to the front of the card using foam tape.

 Buttons were added to two corners and a third to the spine using pink and white bakers twine.

I finally added the name by handwriting onto MDF tags from CleverCut which I attached with bakers twine, but I also glued them down to keep them in place.  


This is the box lid for Olivia's card.  I matted some more of the patterned paper onto the pink pearlescent card stock over the whole lid.

I stamped the Baby Girl sentiment using a set of stamps from Buzzcraft, I'm not sure where I bought them from but they are item no 466 which is a Birth/Christening set. Again this was matted on the pearlescent card and added at a jaunty angle to the middle of the box lid.


This is the card I made for Olivia's big sister Tilly.


The main image was stamped in Momento Tuxedo Black ink and coloured using Copics.

I matted this onto lilac card and and rounded two opposite corners but left the other two square and added gems to these.

I matted an A5 card using two different patterned papers from my stash and covered the join with some pink lace. 

I stamped the sentiment on the top section of the card, and added gems to all 4 corners.  

I wrote 'Big Sister' in the balloon and covered this with a scratch off sticker.

I then attached the main image using foam tape.

Thanks for popping in.

Lots of Love

Cheers

Hev xxx


Friday, 18 November 2016

Triplets

Hi All

I was recently asked to make a card for the birth of a set of Triplets.  This is what I came up with, I hope you all like it.


I stamped the complete image once using Tuxedo Black Momento Ink and cut it out,

I then stamped the balloon portion of the stamp again using the same ink two more times and cut them out.

To make the elephant and all 3 sets of balloons fit on the card I had to cut the balloons from the complete elephant too so I could re-position them.

I coloured the images using Copics (apologies I didn't take note of the colours I used as I was playing).

I wrote the names of the three baby boys onto the balloons.  (This was a big step for me as I hate my handwrting - lol).

I matted a 6x6 card with some green polka dot paper and stamped the sentiment in the corner using Generation Inx Back to Black ink pad before mounting the elephant and the balloons onto this with foam tape.

I stamped A Special Delivery Calendar stamp from Pink Gem Designs using Generation Inx Back to Black ink pad on the same polka dot paper and cut out using a circle punch and attached to the card with foam tape.

Finally I covered the names with the Scratch off stickers.

Thanks for popping in.

Lots of Love

Cheers

Hev xxx


Thursday, 17 November 2016

Happy Birthday Jules

Hi All

It's one of my best friend's birthday today (Happy Birthday Julie - and now that I know she has received and opened her card I can show it to you all.  I hope you like it.


The image is from the Loving Wishes stamp set from Stamps by Me Ltd, and the sentiment is from the Hooray stamp set also from Stamps by Me Ltd.

I stamped the image using Tuxedo Black Momento ink and coloured the using Copics in the following colours: E04, RV42, R20, G85, G82, YG11, W7, W3, W1, 0 Colourless Blender.

The centre of the flowers has a hint of dusky pink glitter added using a Quickie glue pen.

I stamped the senitment in Generation Inx Back to Black from Stamps by Me Ltd.  

The image was matted onto some dusky pink card and mounted on foam tape onto patterened paper which was matted on the same plain card stock on an A5 card. 

It is a very simple card but I think it looks very elegant.


Thanks for popping in.

Lots of Love

Cheers

Hev xxx


Monday, 14 November 2016

Butterfly Stitch

Hi All

I've had a little play with a couple of new products this week.  First of all the beautiful Butterfly Stitch stamp from Stamps by me Ltd, this stamp will be featured on Create and Craft on Tuesday, 15 November at 2pm.  The other new product is the Cosmic Shimmer Pixie Powders also available from Stamps by me Ltd.


  • For this first card I stamped the Butterfly Stitch stamp using Generation Inx Back to Black
  • I coloured the image using Copic Ciao pens in the following colours; E04, RV42 and R20 for the flowers and G85, G82 and YG11 for the leaves
  • The glitter was added to the outline using a Quickie Glue Pen
  • The image and sentiment were then matted and layered onto coordinating card stock and patterned papers on which I rounded all the corners.


  • The first step of this card was to take a piece of watercolour card and wet it liberally using a paintbrush
  • I used Cosmic Shimmer Pixie Powders in the following colours; Emerald, Aubergine Dream and Straw Yellow.  I mixed a small amount of the Pixie Powders with quite a bit of water on a pallet and painted random splodges of the 3 colours all over the already wet watercolour card.
  • Using the same 3 colours of Pixie Powder I patted the bottles over the wet card to allow spots of colour to develop and mingle with the painted background.
  • Once the watercolour card was dry I stamped the Butterfly Stitch stamp using Generation Inx Back to Black over the top of the Pixie Powder background
  • I cut the image out and mounted it using foam tape for dimension onto plain and glittered card stock.
  • I stamped the word Lovely using the Loving Wishes stamp set using Black Archival Ink pad and embossed immediately using clear embossing powder.  
  • I fussy cut the sentiment and added to the front of the card
  • As this was a twisted easel card I used the same plain and glittered card stock to mat the base of the card
  • I used another of the sentiments from the  Loving Wishes stamp set and stamped again using Black Archival Ink pad and embossed immediately using clear embossing powder. 
  • I attached this with foam tape to act as a stopper for the easel card.


  • For this card I used the Cosmic Shimmer Pixie Powders again but in a slightly different way.  I did not paint the colours first as on the previous card.
  • I wet a piece of watercolour card using a large paintbrush, making the card quite wet.
  • Using the same 3 colours of Pixie Powders as on the previous card I patted the bottles over the wet card to create dots of colour which started to run and separate.
  • I spritzed more water onto the card with a fine mister to encourage the colours to run even more. It is amazing how many colours you end up with as the powders separate.
  • Once the card was dry I stamped the bottom portion of the Butterfly Stitch stamp twice using Generation Inx Back to Black over the top of the Pixie Powder background.
  • I cut these out and adhered them to a piece of patterned paper matted onto black card stock to mimic a butterfly.
  • Gems were added down the centre to give the illusion of the butterfly's body.  
  • The antennae were hand drawn to complete the butterfly.
  • I stamped the sentiment in Generation Inx Back to Black from the Hooray stamp set and matted onto the card at jaunty angle.
  • Finally gems were added to the corners to finish the card.


  • This was a very quick card
  • I used the same piece of background card I made for the twisted easel card above and stamped the Butterfly Stitch stamp using Generation Inx Back to Black over the top of the Pixie Powder background.
  • On a piece of patterned paper with a fairy image I marked on the fairy's arm where the dress would come to.
  • I cut out around the fairy's arm using a craft knife to allow the image to slide under her arm, giving the appearance that she was wearing the dress.
  • I used a Quickie Glue pen to add glitter to the fairy's wings.
  • Gems were added to two corners.
  • Finally ribbon was tied in a bow around the spine of the card.  It doesn't show on the photo, but the ribbon matches the shimmer from the Pixie Powders on the dress.
Hope you like them all

Thanks for popping in.

Lots of Love

Cheers

Hev xxx